
Introduction:
This guide provides a comprehensive yet straightforward walkthrough on configuring Betaflight for optimal performance of your VTX and radio controller channels, addressing common challenges and ensuring a seamless connection for an enhanced FPV drone flying experience.
- Betaflight Configuration Introduction: Aims to simplify the VTX and radio controller channel setup for seamless FPV connection.
- Receiver Port Identification: Find the port connected to the receiver on the flight controller.
- Betaflight Setup: Connect to Betaflight, configure the correct port for the receiver, and save settings.
- Receiver Configuration: Select the receiver’s communication protocol, ensure proper feedback on the radio controller, and troubleshoot if necessary.
- Flight Mode Setup: Configure essential flight modes including ARM, Angle, Horizon, and Beeper for operational functionality and drone recovery.
- Beginner-Friendly Modes: Suggests enabling “FLIP OVER AFTER CRASH” mode for easier crash recoveries.
- Conclusion: Finalizes the control system setup, preparing the drone for its first flight and future power system enhancements.
What you need:
Freestyle Recommended:


Racing Recommended:


Introduction about Betaflight Configuration
Many enthusiasts face challenges with Betaflight, especially when the FPV (First Person View) doesn’t display after binding. This guide aims to demystify the setup process for your VTX (Video Transmitter) and radio controller channels, ensuring a seamless connection.
Step-by-Step Configuration for VTX and radio controller channels
Step 1: Identifying the Receiver Port
Begin by determining which port on the flight controller your receiver is soldered to.
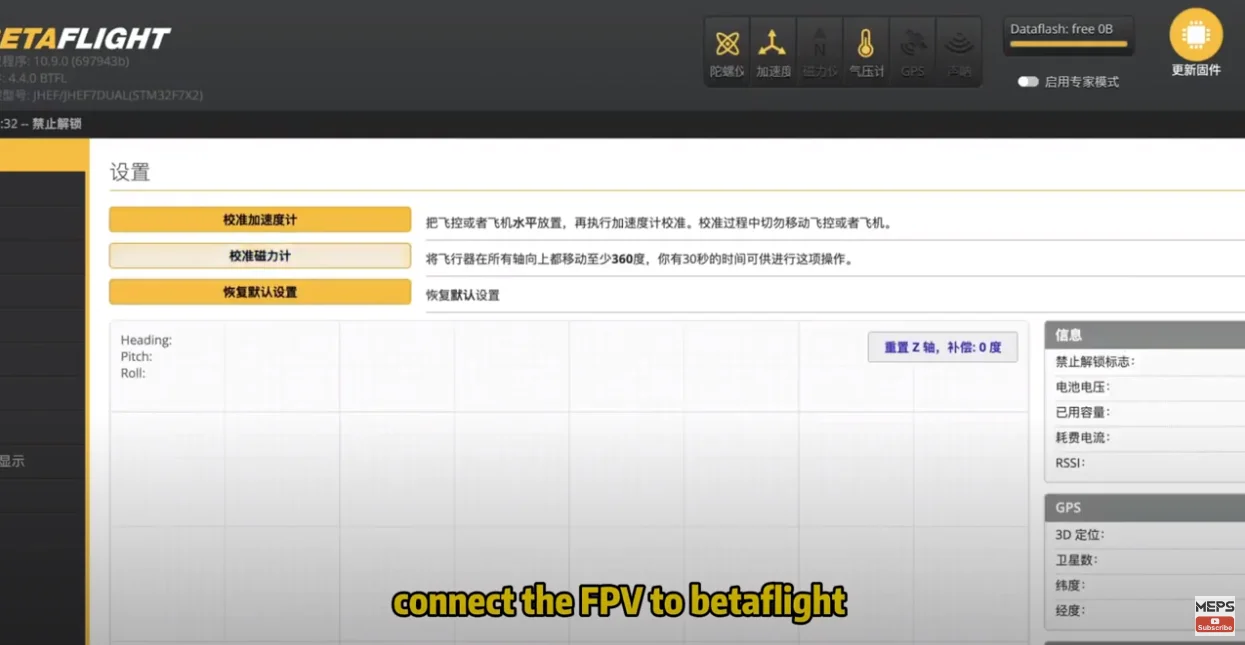
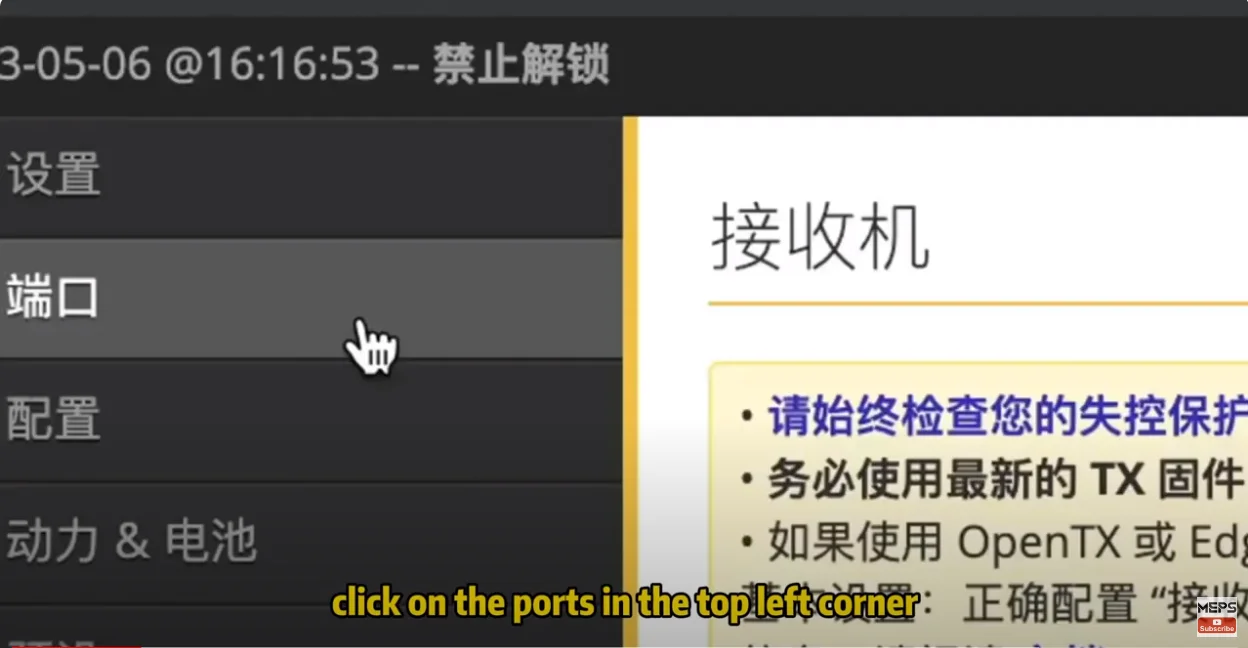
Step 2: Betaflight Connection
- Connect your FPV drone to Betaflight using a data cable.
- Navigate to the “Ports” tab in the top left corner
- Enable the corresponding port for your receiver and click “Save”. The flight controller will restart automatically.
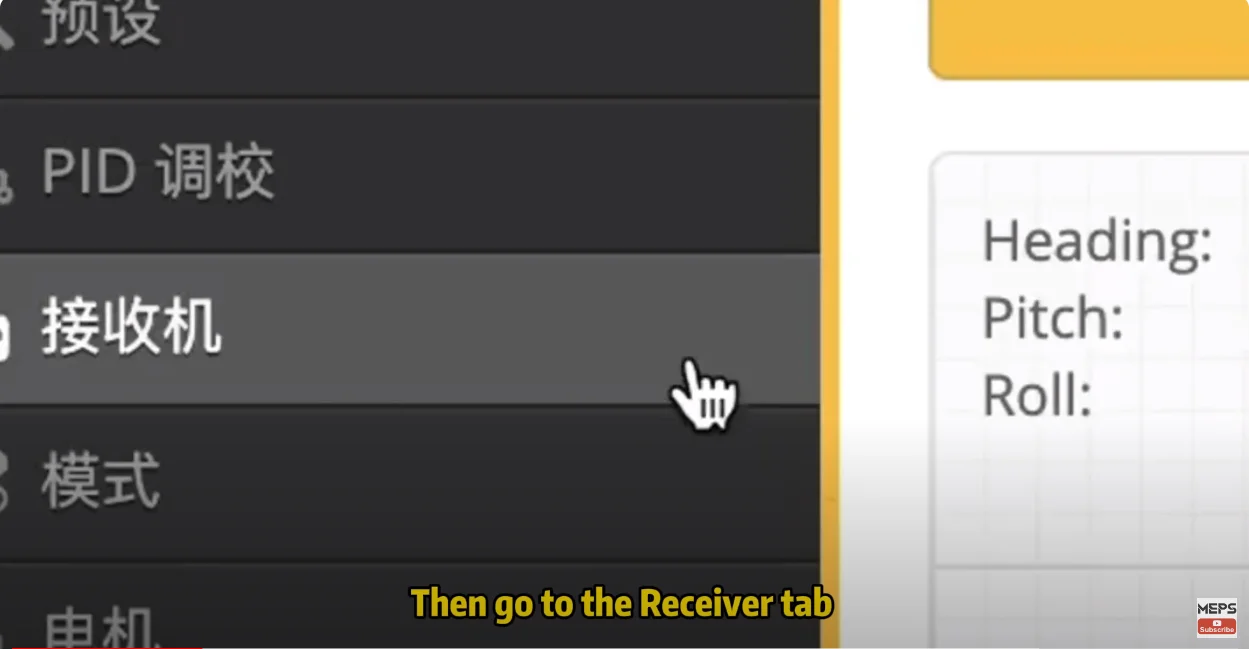
Step 3: Receiver Setup
In the “Receiver” tab, select the communication protocol your receiver uses.
- Choose “Serial (via UART)” for most receivers.
- For TBS Crossfire or ELRS, select “CRSF” as the Serial Receiver Provider.
- Ensure your radio controller sticks are showing feedback on this interface. If not:
- Verify your receiver is powered on and connections (TX and RX) are correct.
- If issues persist, try a different port and recheck the controller channels under the “Receiver” tab.
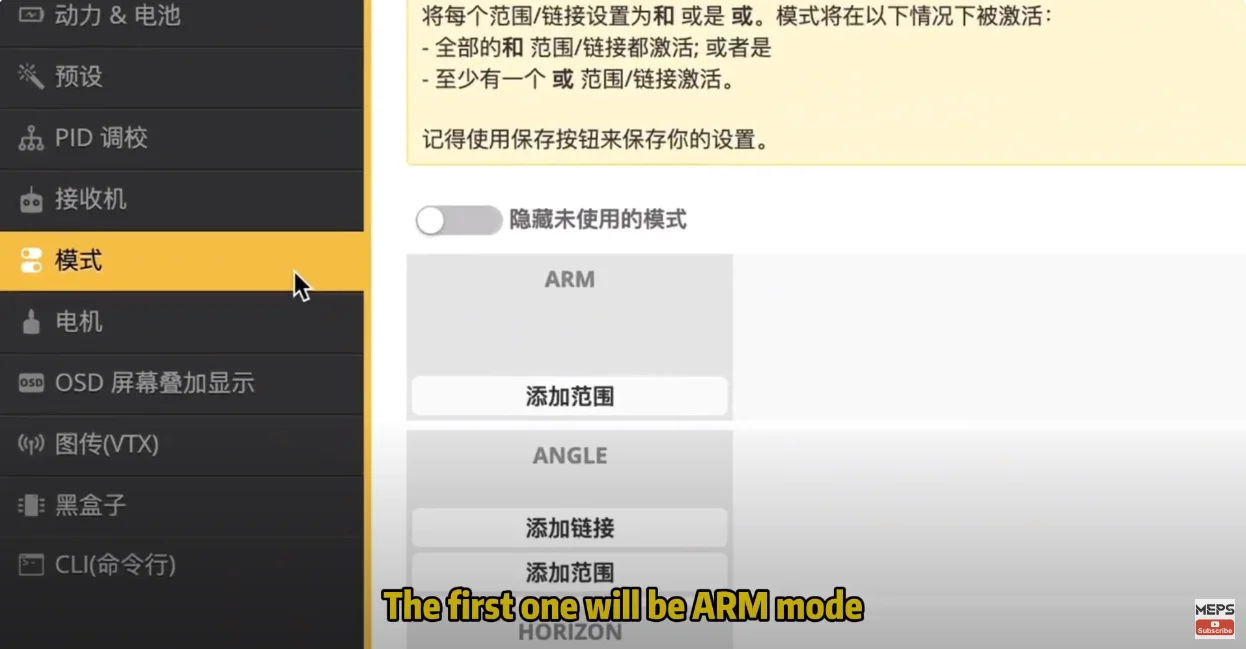
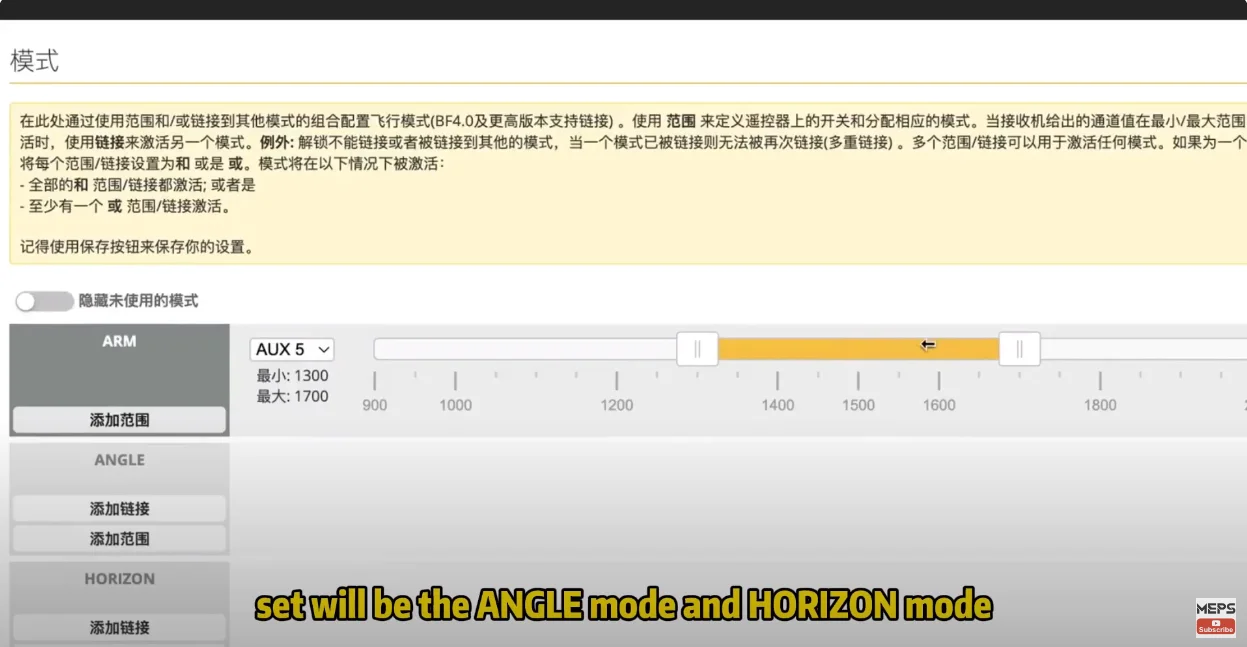
Step 4: Mode Configuration
ARM Mode:
- Essential for enabling motor output and flight.
- Disarm immediately after landing or crashing to stop motors.
- In the “Modes” tab, click “Add Range”, select an auto channel, and move the desired switch.
- Adjust the yellow tick mark to cover the desired position and click “Save”.
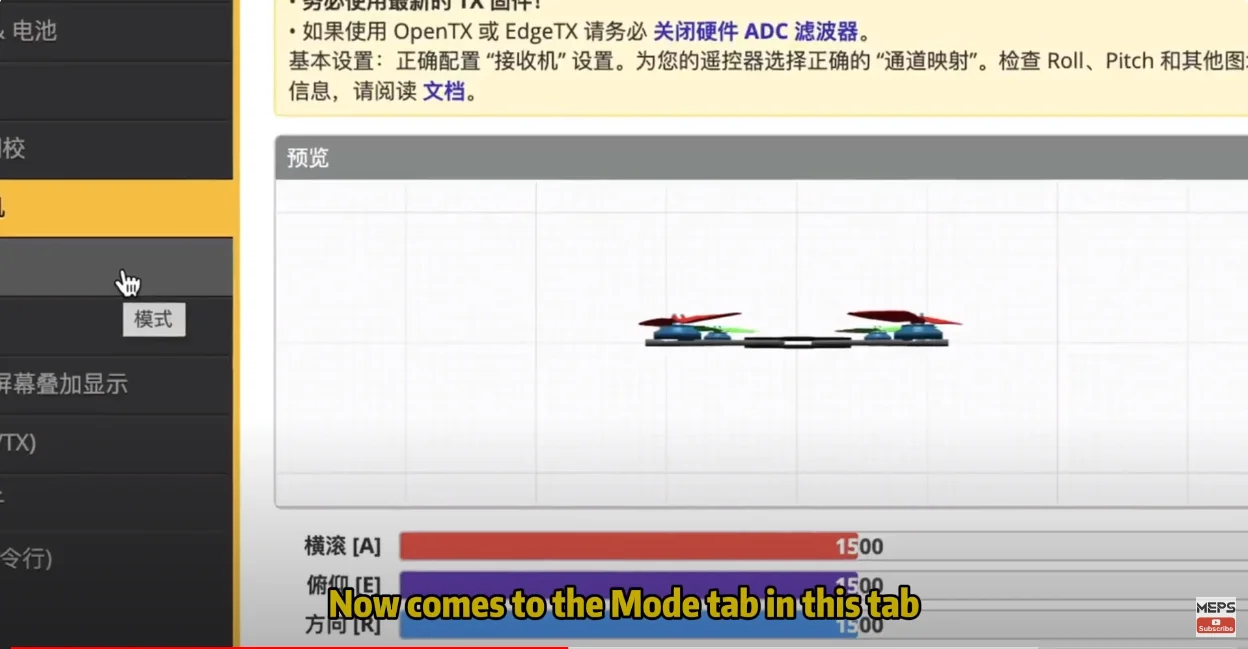
Angle and Horizon Modes:
- Set up using a three-position switch: ANGLE, HORIZON, and ACRO (for experienced users).
- Beginners should start with ANGLE mode, then progress to HORIZON and finally ACRO mode.
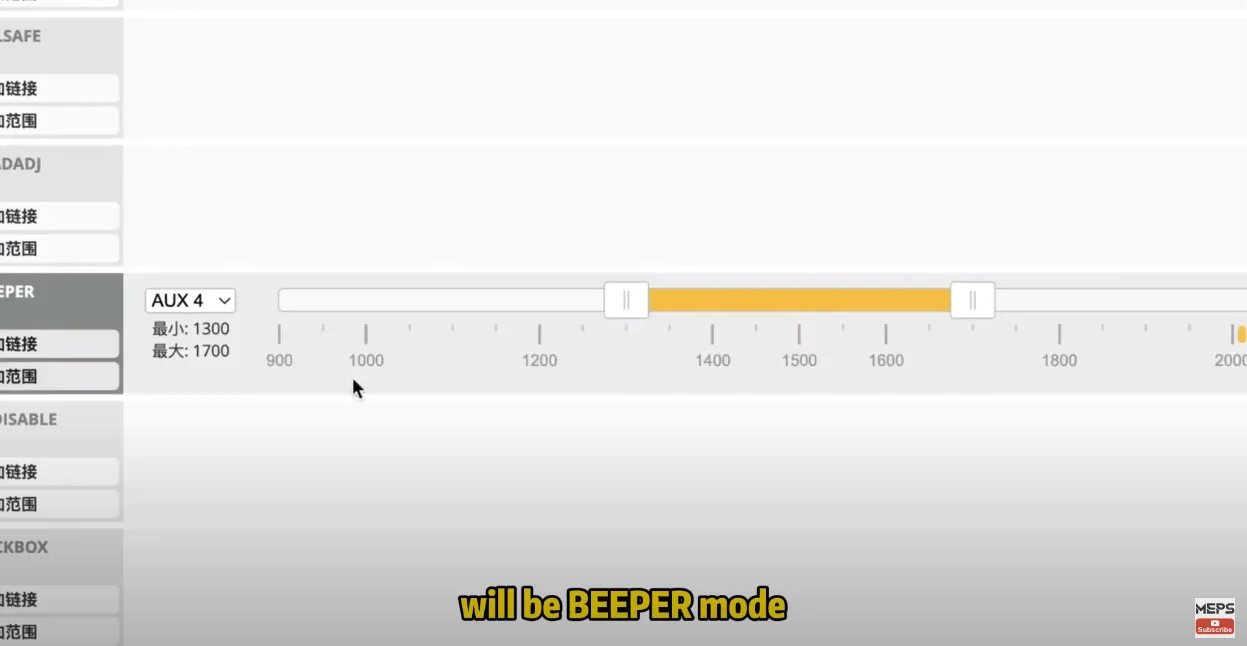
Beeper Mode
Activates the drone’s beeper, invaluable for locating your FPV drone after a crash.
Additional Modes for Beginners
Consider setting up the “FLIP OVER AFTER CRASH” (Turtle Mode) to aid in recovery after crashes.
Conclusion
With your control system now configured, your FPV drone is ready for its initial flight. In our next episode, we’ll delve into the power system settings, further enhancing your drone flying experience. Stay tuned for more insights and happy flying!